
Spring 2021 One Room Challenge Week 5: How to Install a Slat Wall
GAHHHH!!! I can’t believe the week AND the weekend sped by! We have been at the point in the renovation of the gaming room where the details take time and it seems like it has been moving slowly. BUT, that is the way it is with all good things in construction!
Last week I was honestly a little worried we would not get done with the massive amount of carpentry we had taken on. Now, if I was smart I guess I would have hired one of my crews to come in and build everything in a couple of days, but what FUN would that have been!? And it would have been pricey …… and we have the skills between John and I to pull off what I wanted to do in this room. Our friend Kenny with Interior Woods, helped immensely with the cubbies and the snack station cabinets! SUPER talented guy that one!
A Quick Update on This Week’s Renovation Progress…
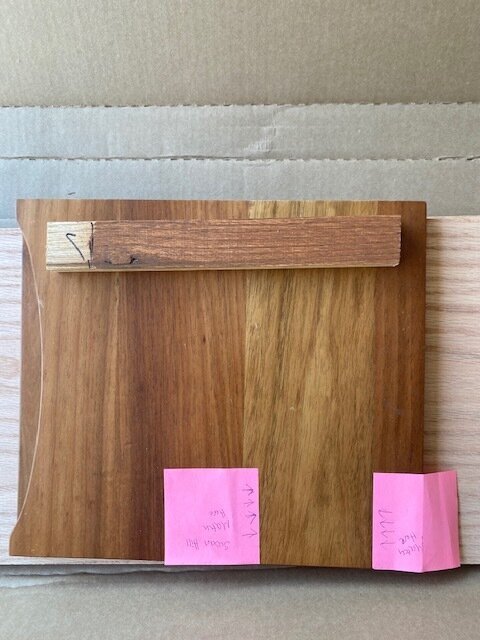
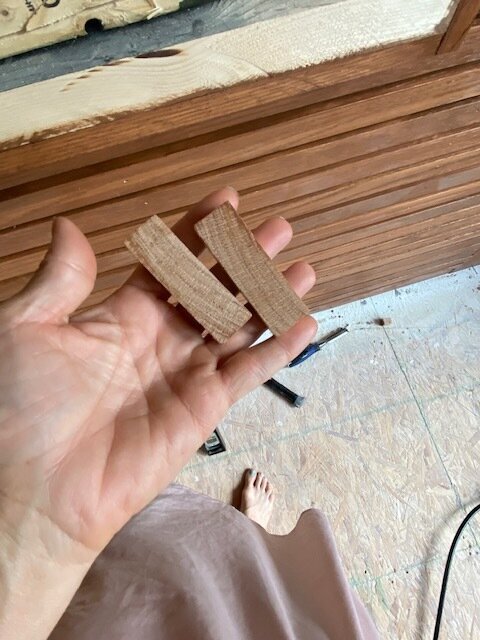
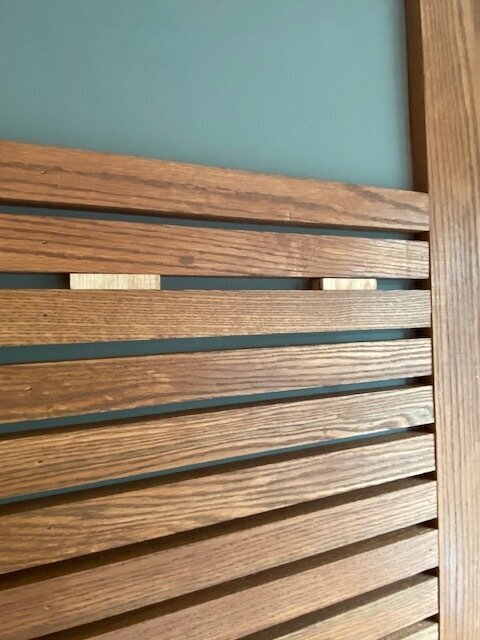
I picked up the custom stain for the red oak and the birch last Wednesday! We got started staining the 1x2 slats so they could be installed. There is NO WAY you are getting stain on them AFTER they are on the wall.
We sanded and prepped the 1x12 boards so I could stain the edge and it would be ready for the slats to be installed.
John cut a bunch of the 1x2’s so they could be installed.
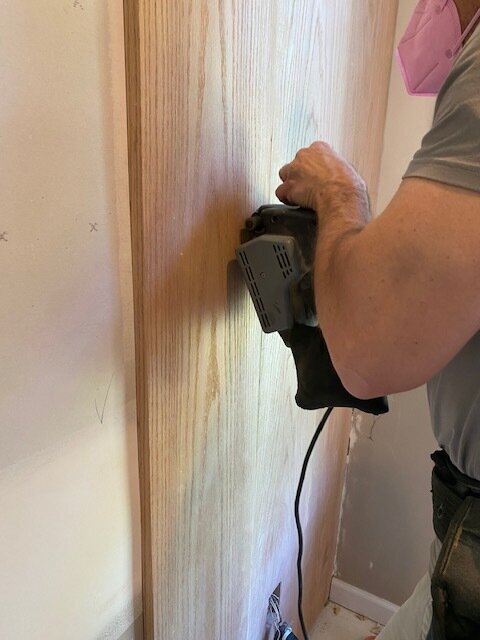
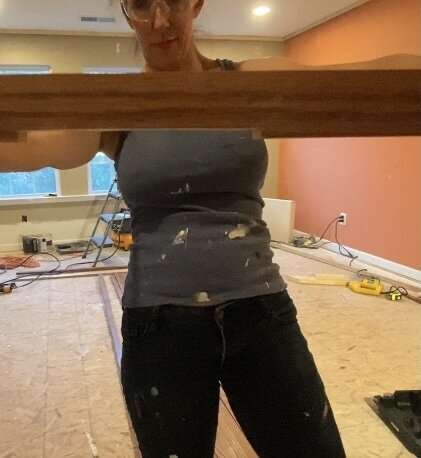
We used the belt sander to smooth out some highs on the 1x12 red oak boards.
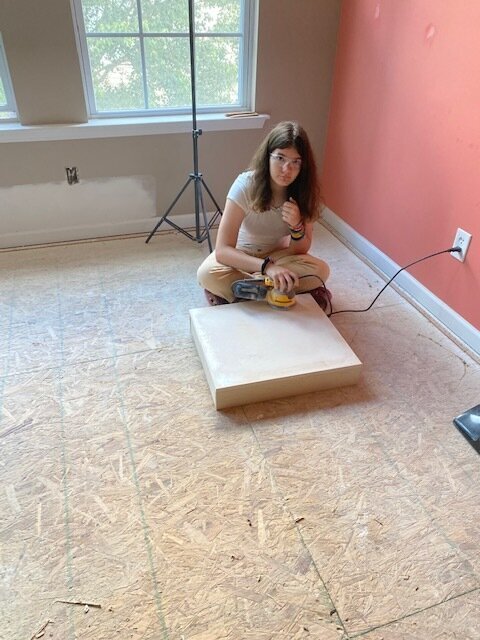
Put my Little (who is NOT so little - it’s just my pet name for her) to work sanding some cabinet pieces. And don’t tell her I posted a photo of her … she will kill me!
Did all of the filling and sanding from the nail gun in the cove crown. STILL need to caulk.
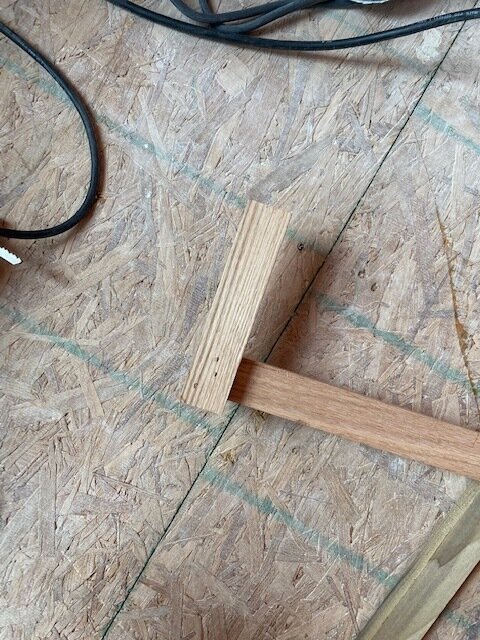
Made a jig for the 1x2’ so they would all be the same length.
Made some blocks so all 1x2’s would be installed with the same spacing.
We pre-cut more 1x2’s.
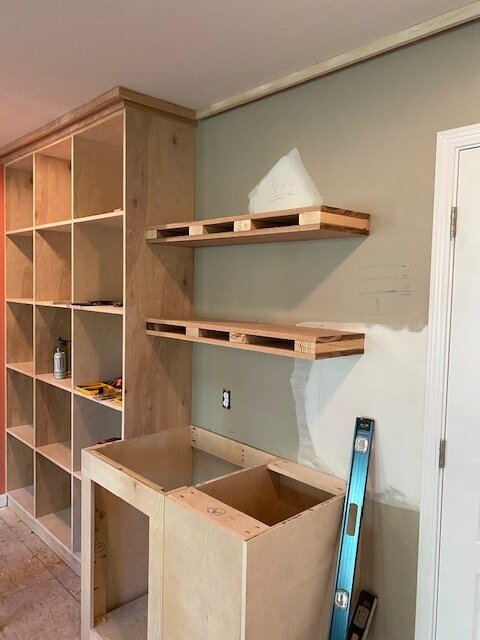
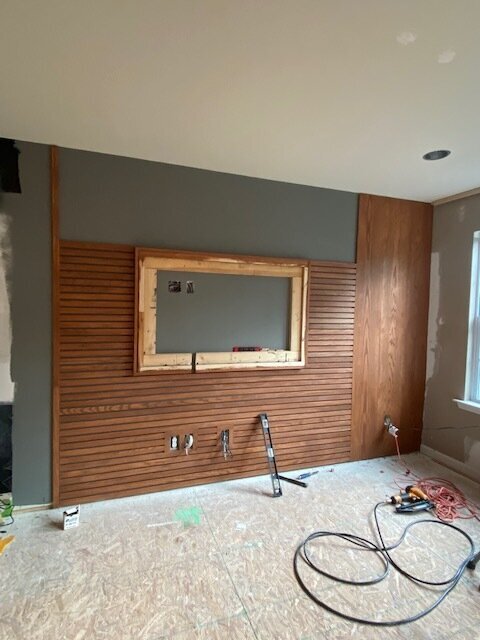
John cut the boards for the floating shelves and assembled them on the wall.
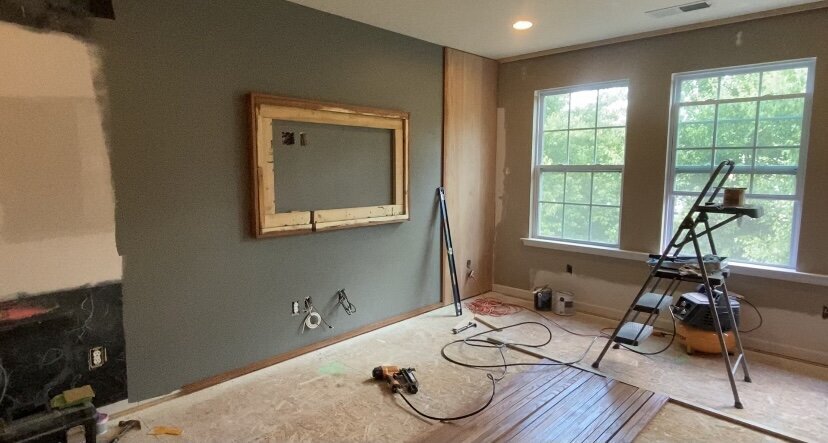
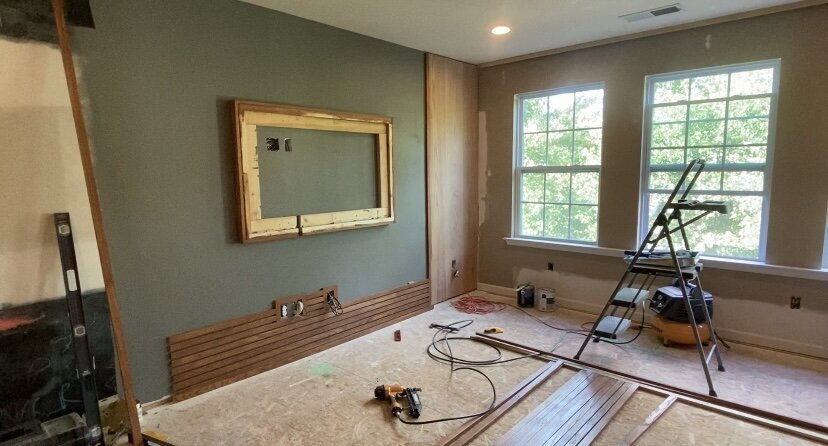
Began installing the slats and continued up the wall.
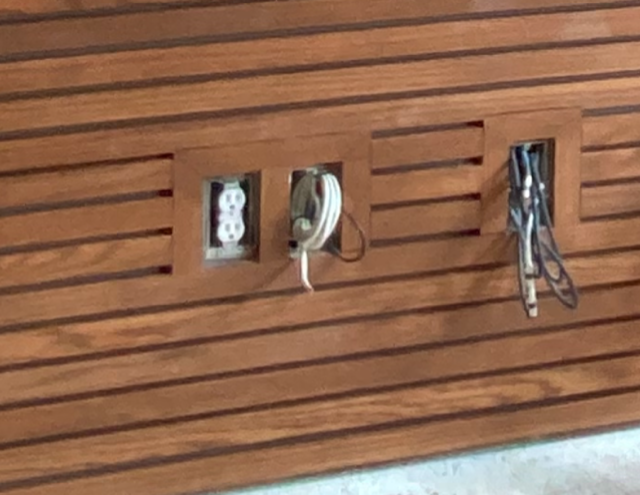
I boxed out and scribed around the electrical outlets.
Custom cut the smaller slats on each side of the tv platform.
If you want to hear about how to install the slat wall, hop over to my Stories on Instagram, it’s saved in Highlights!
My Kelly Moore paint arrived as well!! So excited about this color and to get it on the walls!! I chose Rudraksha Beads for the depth of saturation and it had the perfect undertones for the monochromatic layered room I wanted to create! I chose their DuraPoxy product. It is a super-premium interior enamel you can use on walls, trim, doors, anything really and what I really love is it is WASHABLE and has an epoxy-like finish. DuraPoxy is also stain and mildew resistant and WASHABLE so it’s perfet for the gaming room. And don’t WE KNOW I am going to need that with a bunch of teenagers in a room by themselves!

If you are just tuning in, you can catch up on the previous weeks here. Week One, Week Two, Week Three, Week Four.
A huge thank you to all of the AWESOME sponsors who have been so generous with product and their time!! Minted, Build with Ferguson, Calico, Apt2B, Interior Woods, ITC Millwork, Instyle, Loloi, The Designers Marketplace, Sew Unordinary, Louver Shop, Hudson Valley Lighting Group, Crystorama. Minted, Tile Shop, Legrand.
That’s about it folks! The SKINNY on the quick. Next week should show a lot more progress, so stay tuned!! And make sure you check in with the other Featured Designers to see what they’ve been up to this past week!
Ariene C. Bethea | At Home With Ashley | Banyan Bridges | Bari J. Ackerman | Brit Arnesen
Brownstone Boys| Cass Makes Home | Dominique Gebru | Gray Space Interiors| Haneen's Haven
Home Ec. | Nile Johnson Design | Pennies for a fortune | Prepford Wife | Rachel Moriarty Interiors
Sachi Lord | Susan Hill Interior Design | This Is Simplicite | Tiffany DeLangie | Victoria Lee Jones